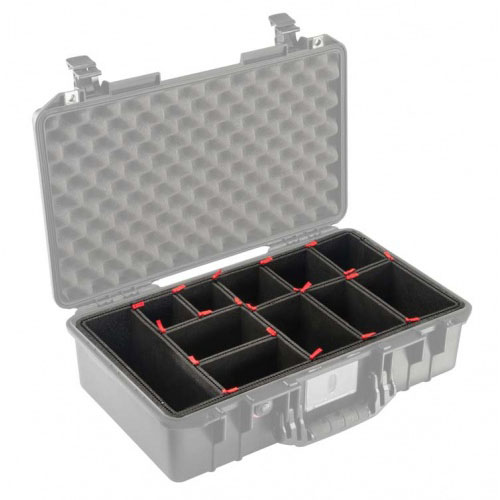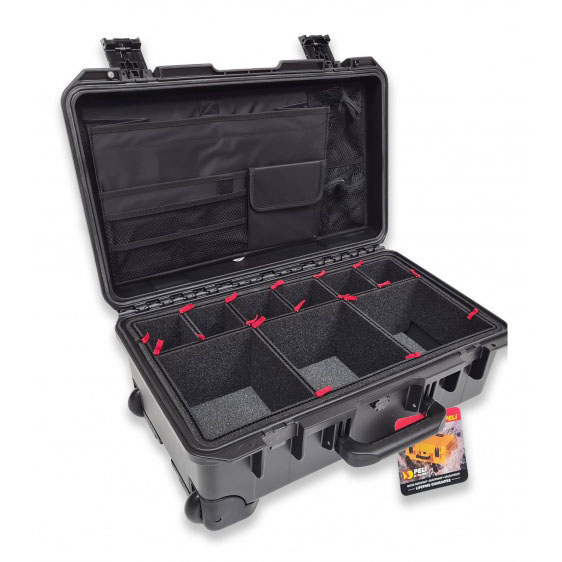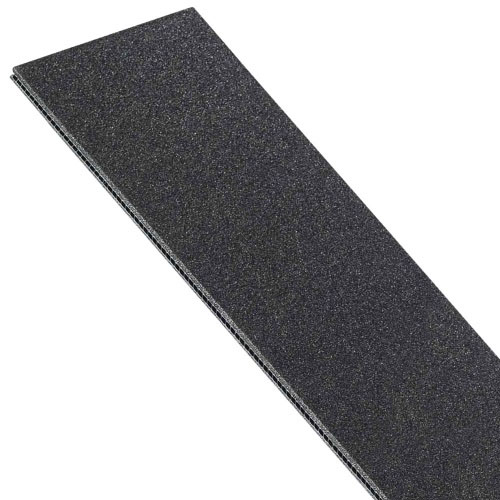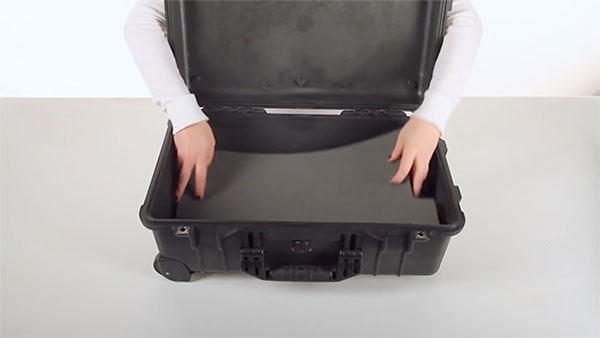
1) Open your case and insert the base foam and lid foam into your Peli case, gently pressing at the edges to secure them.

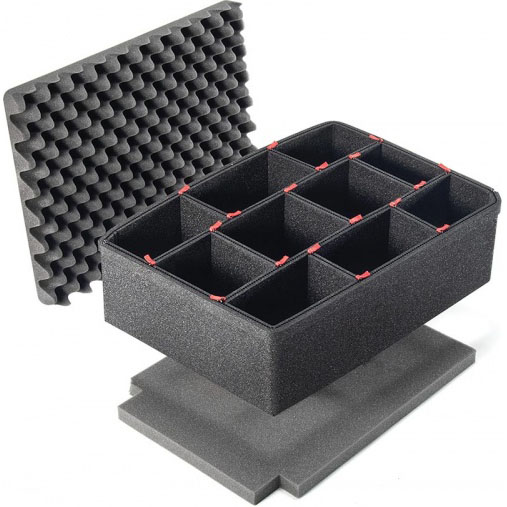
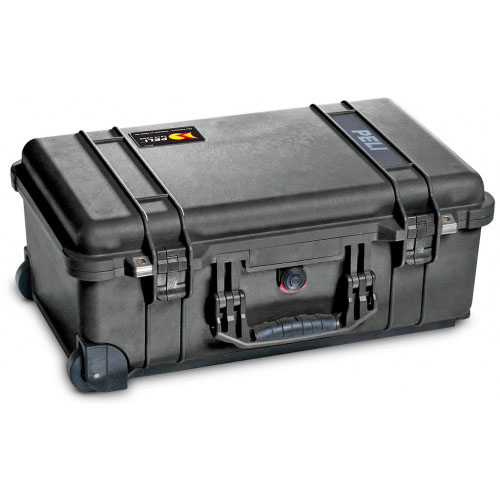
2) Insert the perimeter pieces next. This is what forms the protective wall around the interior of your case. The perimeter pieces will already be pre-cut to the shape of your particular model. (If you have a case with wheels, pay extra attention to how you insert the perimeter pieces because one side will have cutouts to fit around your case's wheel arches.)
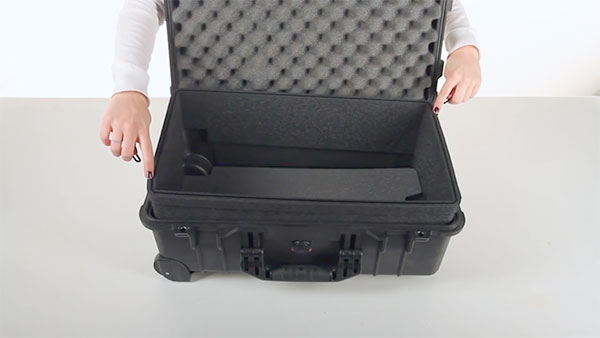
3) When both perimeter pieces are in the case, lock them together using a pin at both joins. Gently press down on the perimeter pieces until the raised bumper line on the outside hits the top of your case. To ensure an extra-snug fit, squeeze the edges of your perimeter while pushing down slightly.
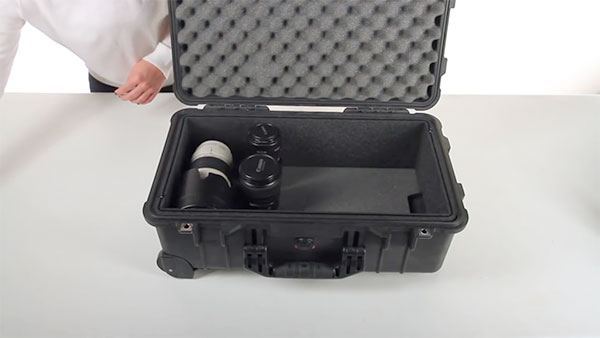
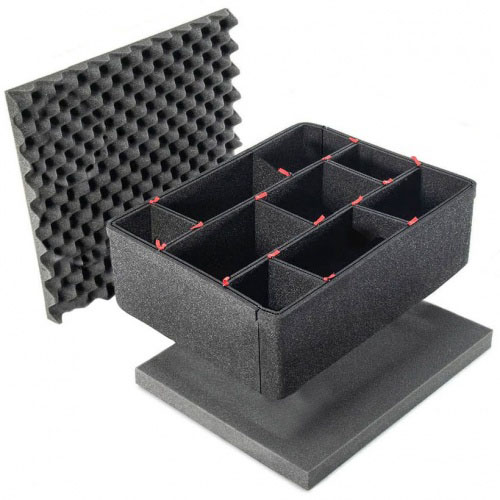
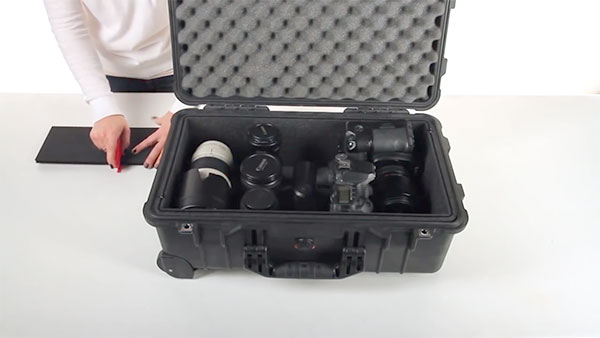
4) Add your items to the case, choosing a layout that makes good use of available space. You may want to think about which item you'll need access to most frequently when opening the case, and position this one at the front and centre. Remember, dividers will require a straight-line space running between adjacent items, so try to visualise this as you add your equipment.
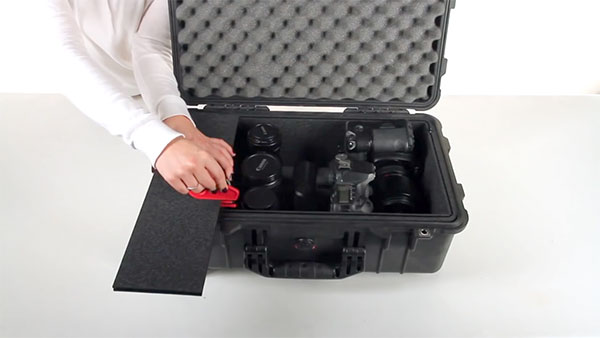
5) Measure your first TrekPak divider section by holding it alongside the perimeter of the case and seeing which flute (hole along its corrugated edge) touches the opposing wall. Insert the middle prong of your cutter tool into this flute.
6) Place the whole divider onto a flat surface, and with the divider held down with one hand, gently pull the cutter tool towards you. The cutter's middle prong and double blade should work nicely together to give you a clean, straight cut.
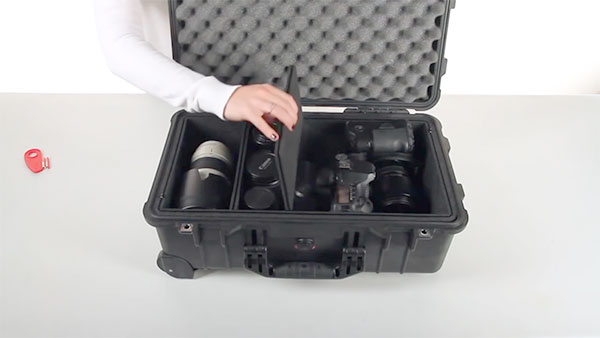
7) Place the finished divider section into the case, nudging it down to ensure that your equipment is snug but still able to be removed. Then repeat to create further divider sections as needed.
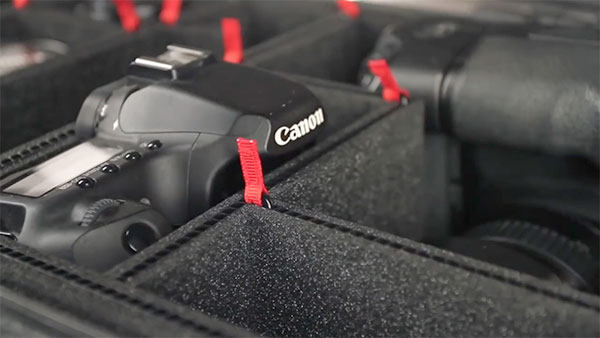
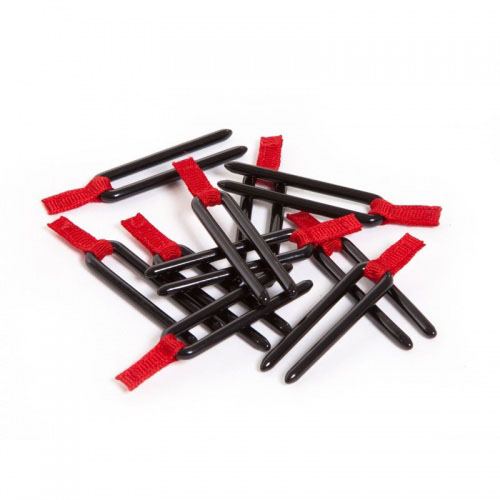
8) Attach the red pull-tabs onto your steel U-pins, and insert the pins into the divider foam cavities, connecting different divider sections together at each 'junction'. Don't forget to connect divider sections to the perimeter wall too.